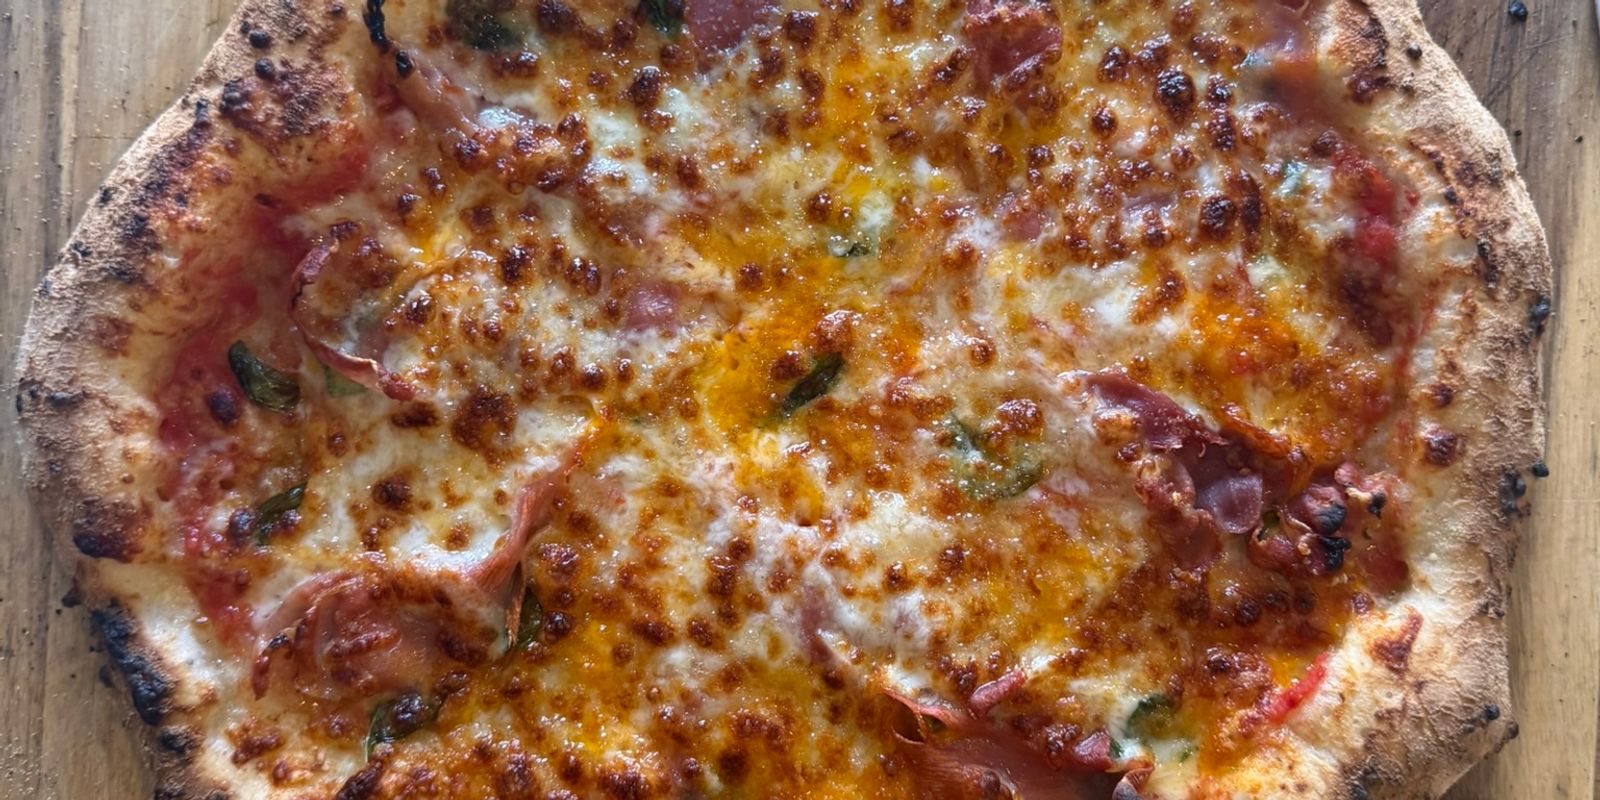
Gluten Free Pizza Dough
Quite simply the best gluten free pizza dough you will ever try! It's honestly better than some of the regular wheat flour recipes we've tried.
This dough is very sticky. There are a few tips in here to help, and you'll be making the best gluten-free dough you've ever had.
The dough is super delicate. You cannot treat this like a normal pizza dough. I've been there and got the T-shirt so you don't have to.
Don't try and stretch and slap this dough around like a normal pizza.... you'll regret it.
Caputo Fioreglut is a premium Italian gluten-free flour blend produced by the renowned Neapolitan mill, Mulino Caputo. It is widely considered the gold standard among home bakers and professionals for making gluten-free pizza, breads, and pasta that mimic the elasticity and texture of traditional wheat-based doughs.
⚠️ Safety Note: ⚠️ Because it uses deglutenised wheat starch, it is certified gluten-free, but it is not wheat-free. It is not suitable for those with wheat allergies or sensitivities to wheat proteins other than gluten.
⚠️ Always check individual product labels for allergen information as ingredients vary by brand. ⚠️
Dough
- —320 g Caputo Fioreglut flour
- —2 g Instant yeast
- —256 g Water, room temperature
- —10 g Salt
- —16 g Extra-virgin olive oil
- —Cornmeal (for dusting, semolina substitute)
Prevent your screen from going dark as you follow along.
- 01
To prepare the dough, dissolve the yeast in the water in a large mixing bowl.
- 02
Add the flour, then mix by hand or using a mixer on low speed for 2 minutes until well combined.
Then add the extra-virgin olive oil and lastly the salt.
Tip: If mixing by hand or whenever handling the dough, I recommend coating your hands in olive oil to prevent it sticking to your hands. Trust me, this is a game changer.
- 03
Bulk Ferment
Cover the bowl and leave the dough to rise until doubled in size at room temperature.
- 04
Cold Ferment
Transfer the dough to the fridge. You can use it any time from this point, but for deeper flavour, leave it to rest in the fridge for 1–2 days.
- 05
Rest Before Baking
Use a spatula (coat lightly with olive oil to prevent sticking) to gently release the dough from the container and place it on a plate, tray or clean surface dusted with cornmeal.
Cover with an upturned bowl and leave at room temperature for 2–4 hours.
- 06
Preheat Your Oven
Preheat your pizza oven to 400°C / 750°F stone temperature at a high flame.
- 07
Shape the Base
Dust the dough generously with fine cornmeal. Gently press it into a rough circle, keeping a 1cm raised edge for the crust.
Instead of pushing from the centre, press outward just inside the edge where the crust will be. This pushes extra dough towards the edge, helping you build width while keeping the centre even. Rotate the dough slightly and repeat this motion all the way around until you have a circular base.
Tip: Handle the dough gently throughout, as gluten-free dough is more delicate and doesn't stretch like traditional dough.
- 08
Build the Pizza
Top the base with your chosen sauce and toppings.
- 09
Prepare the Peel
Lightly coat your peel in cornmeal flour.
- 10
Load the Peel
Gently lift the front edge of your pizza and swiftly slide your peel underneath.
- 11
Final Stretch
Very gently stretch your pizza out to the desired size on your peel.
You may need to slightly redistribute some of your toppings once done.
- 12
Launch
Remove any excess cornmeal from the bottom and launch into the oven.
- 13
Bake
Bake for 2–3 minutes, turning through 180°, then 90° at a time to achieve an even bake.
Serve hot.